


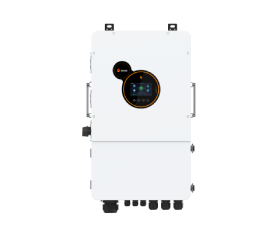

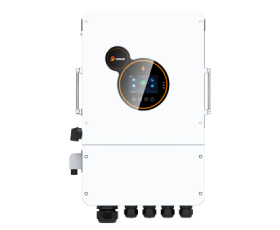
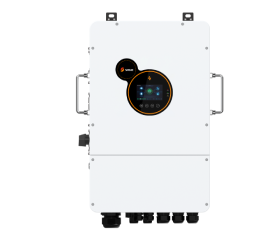
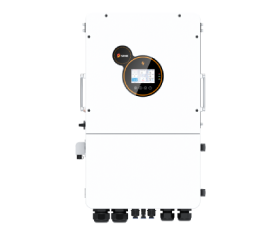


How to Install Your Home Power Inverter
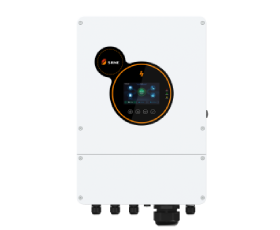
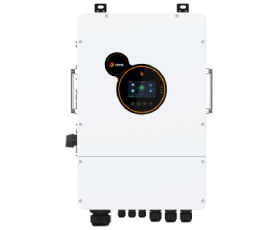
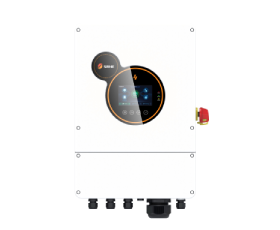
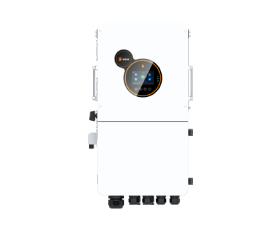
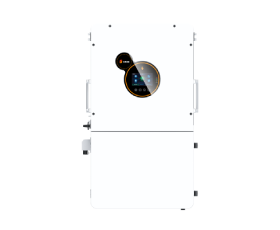
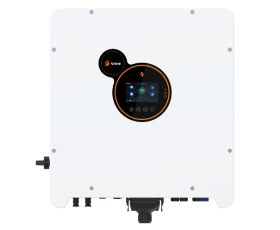
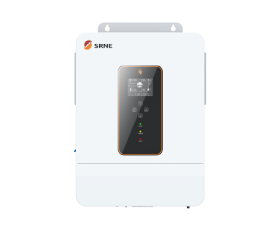
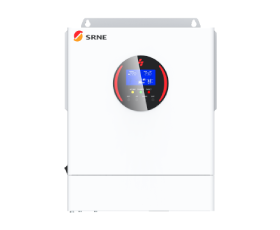
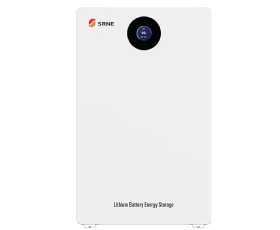
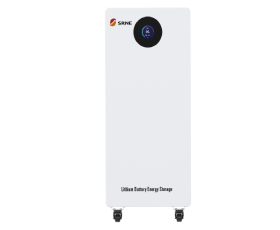
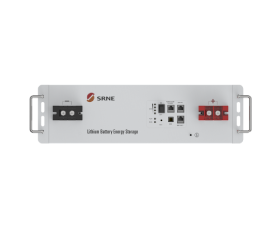
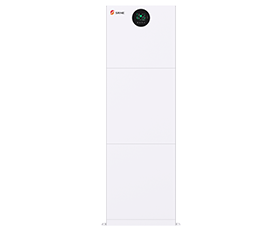
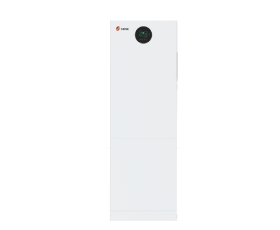
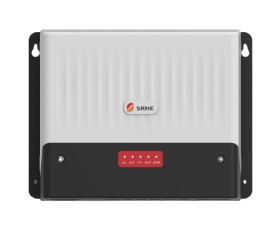
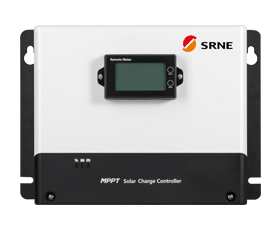
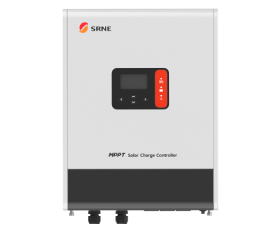
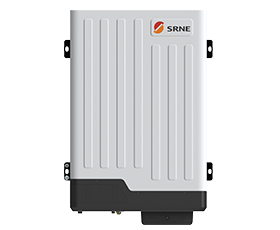
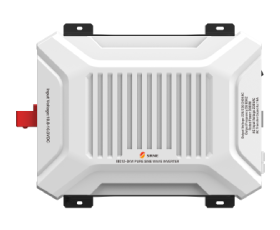
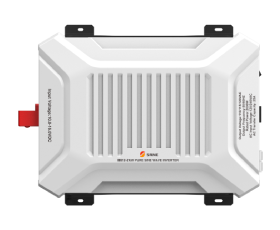
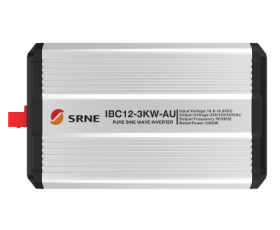
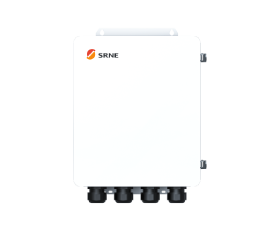
Home power inverters play a crucial role in modern energy systems, converting DC power from solar panels into AC power for home use. Proper installation of your home power inverter is essential to ensure safety, efficiency, and longevity of the system. In this guide, we will walk you through the detailed process of installing a home power inverter, focusing on site assessment, wiring, safety precautions, and testing. With SRNE, a trusted brand in solar inverters, you can be confident in achieving a reliable and effective solar power system for your home.
Site Assessment
Evaluating Your Energy Needs
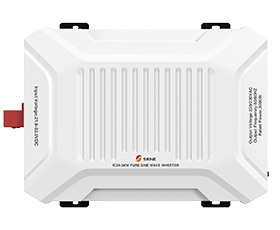
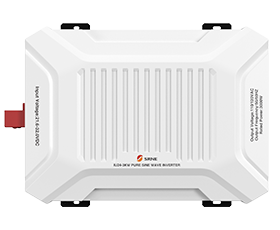
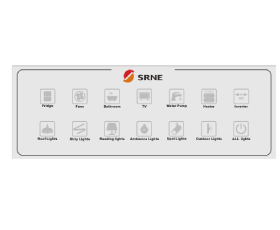
Before installing a home power inverter, it's vital to evaluate your energy needs. Start by calculating the average energy consumption of your household appliances. For homes that mainly use basic appliances like refrigerators, computers, and TVs, a small power inverter in the range of 3-5kW is typically sufficient. Choosing the right size for your solar inverter for home ensures that you have enough power to meet your daily energy requirements without overloading the system.
Choosing the Right Location
Selecting an appropriate location for your home power inverter is crucial for optimal performance and longevity. Consider factors such as accessibility, ventilation, and proximity to your solar panels and main electrical system. The inverter can be installed either indoors or outdoors, but it should be in a place protected from direct sunlight, extreme temperatures, and moisture. Ensure the chosen site allows for easy access for maintenance and monitoring.
Preparing for Installation
Gathering Necessary Tools and Equipment
To ensure a smooth installation process, gather all necessary tools and equipment beforehand. Here’s a list of essential tools you will need:
Screwdriver: Fasten the screws of the inverter and related components.
Electric drill and hammer: Drill holes for securing inverters and mounting racks.
Cable stripper: Strip the outer skin of the cable to expose the wire for connection.
Cable twister: Cut and twist cable ends to ensure stable connections.
Multimeter: Detect voltage and current to ensure correct connections.
Insulation tape: Wrap exposed wires to prevent leakage and short circuits.
Special wrenches and sockets: Fasten connectors with specific sizes.
Crimping clamp: Crimp photovoltaic cables and connectors securely.
Additionally, have the following equipment ready:
Mounting rack: Ensure the inverter can be firmly installed.
Cables and connectors: Prepare enough for connecting the inverter with solar panels, battery packs, and the power grid.
Insulation gloves and safety glasses: Wear these for safety during installation.
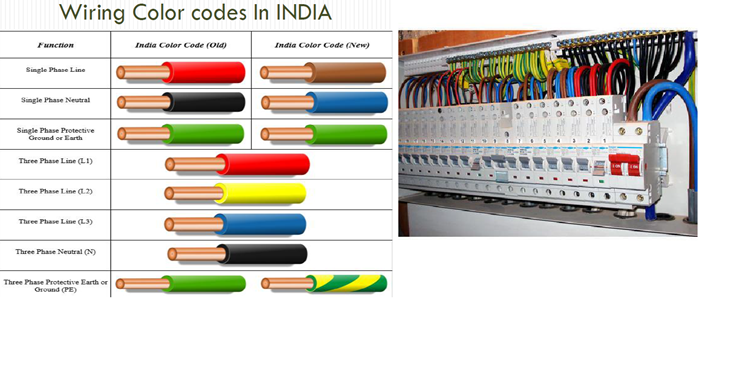
Understanding Electrical Wiring Basics
Familiarize yourself with the types of wiring commonly used in home solar installations:
MC4 connectors: Waterproof and dustproof, used for connecting solar panels to inverters.
PV cables: Special cables for solar photovoltaic systems, resistant to UV, high and low temperatures.
DC and AC cables: Used for connecting the solar panel to the inverter and the inverter to the home grid, respectively.
Copper nose and crimper: Ensure strong and secure connections for high-current cables.
Adhering to local electrical codes and regulations is crucial for safety and compliance.
Installation Process
Mounting the Inverter
Mounting the inverter correctly is crucial for its stability and performance. Follow these steps for secure mounting:
Determine the Installation Position: Select a location based on the size and weight of the inverter. Ensure the area is dry, well-ventilated, and easily accessible.
Install the Mounting Rack: Use an electric drill and hammer to drill holes at the installation position. Secure the mounting rack with screws, ensuring it is stable and level.
Mount the Inverter: Place the inverter on the mounting rack and fasten it securely using the appropriate tools.
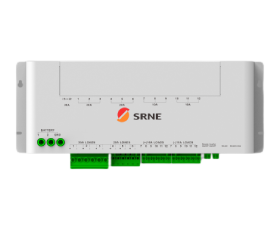
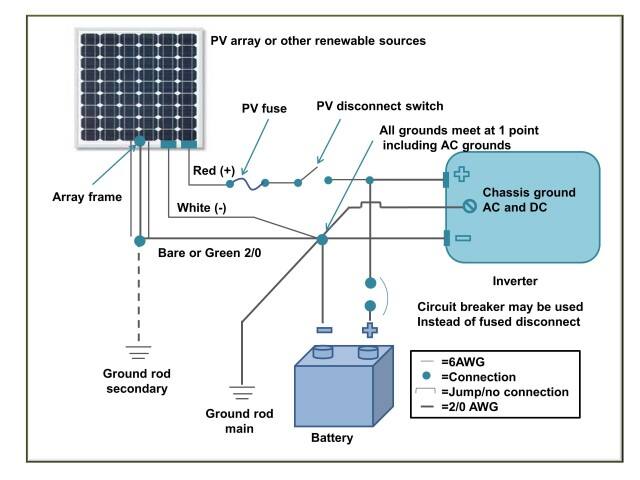
Connecting the Inverter to the Solar PV System
Once the inverter is mounted, proceed with connecting it to the solar PV system:
Connect the DC Terminals: Use PV cables to connect the solar panels to the inverter's DC terminals. Ensure proper polarity and secure connections using MC4 connectors.
Connect the AC Terminals: Use AC cables to connect the inverter's output to the home electrical grid. Follow the wiring diagram provided with the inverter to ensure correct connections.
Secure All Connections: Use cable ties and insulation tape to secure and organize all cables, preventing any loose connections.
Integrating with the Home Electrical System
To integrate the inverter with your home electrical system:
Turn Off the Main Power Supply: Ensure safety by cutting off the main power supply before making any connections.
Connect to the AC Distribution Box: Use appropriate cables to connect the inverter to the home's AC distribution box, following the wiring diagram.
Check for Errors: Double-check all connections to ensure there are no errors or loose wires that could cause problems.
Safety Precautions
General Safety Tips
Safety should always be a top priority when installing a home power inverter. Here are some general safety tips to follow:
Power Off: Before performing any electrical work, ensure the power supply is completely turned off. Use a multimeter to verify no power is present.
Wear Personal Protective Equipment: Always wear insulation gloves, safety glasses, a helmet, and protective clothing to prevent accidents.
Follow Operation Specifications: Adhere strictly to the operation manual and electrical safety specifications provided by the inverter and related equipment.
Use Professional Tools: Ensure all tools meet safety standards and are in good working condition.
Regular Inspections: Regularly inspect the safety of electrical equipment and lines, promptly addressing any potential hazards.
Working with Electrical Components
When handling electrical components:
Handle with Care: Treat all electrical parts with caution, especially live wires.
Use Insulated Tools: Use insulated tools to prevent electrical shocks.
Avoid Water: Keep electrical components and tools dry to prevent short circuits.
Follow Proper Procedures: Adhere to proper procedures when connecting or disconnecting electrical components to avoid mishaps.
Testing and Troubleshooting
Initial Power-up and Configuration
After completing the installation, follow these steps for the initial power-up and configuration:
Turn On the Inverter: Once all connections are secure, turn on the inverter and check the display for any error codes.
Configure Settings: Use the inverter’s control panel to configure settings for optimal performance, such as input and output voltage levels.
Monitor Performance: Observe the inverter for a few minutes to ensure it is operating correctly and efficiently.
Common Issues and Solutions
During installation and initial operation, you might encounter some common issues. Here are solutions to address them:
Wiring Errors: Double-check the wiring connections according to the inverter's wiring diagram. Ensure all cables are connected to the correct terminals.
Inverter Not Starting: Check if the power supply is normal and the inverter is in the correct operating mode. Refer to the manual for any fault codes displayed.
Insufficient Output Power: Ensure the solar panels are oriented correctly and not obstructed. Verify that the cables are not too long or aging, which could cause power loss.
Leakage or Short Circuit: Use a multimeter to detect voltage and current parameters. Locate and repair any points of leakage or short circuits.
Professional Tips
Maintenance Tips for Longevity
To ensure your home power inverter functions efficiently over the long term:
Regular Cleaning: Clean the inverter's exterior and cooling fan regularly to prevent dust buildup.
Check Connection Lines: Periodically inspect the connection lines between the inverter, solar panel, battery pack, and power grid for any signs of looseness or aging.
Ensure Ventilation: Maintain sufficient space around the inverter for ventilation and heat dissipation.
Avoid Humidity: Install the inverter in a dry, well-ventilated location to protect internal components from moisture damage.
Periodic Checks: Use a multimeter to periodically check the inverter’s output voltage and current to ensure it is operating normally.
When to Seek Professional Help
There are scenarios where seeking professional help is advisable:
System Design and Planning: For complex solar energy systems, professionals can provide a rational and safe design.
Installation and Commissioning: Professional knowledge and skills are essential for proper installation and commissioning.
Troubleshooting and Maintenance: Due to electrical safety and technical issues, it's wise to seek professional help for troubleshooting and repairs.
System Upgrade and Optimization: As technology evolves and needs change, professionals can assist in upgrading or optimizing the solar system.
Conclusion
Installing a home power inverter involves careful planning, proper tools, and adherence to safety guidelines. By following this guide, you can ensure a successful installation that meets your energy needs. Explore SRNE's range of home inverters to find the perfect solution for your solar power system.
