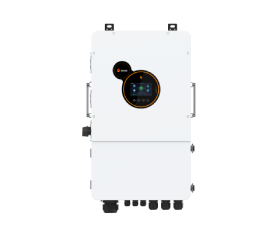
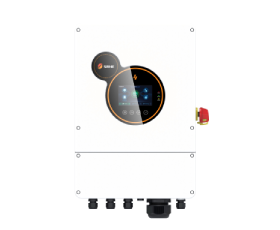
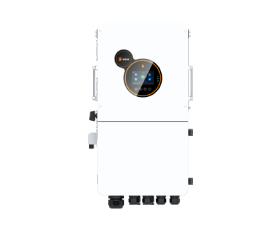
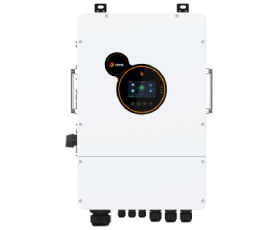
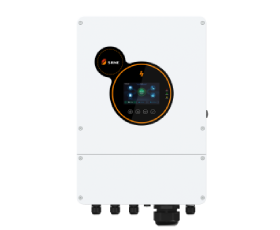
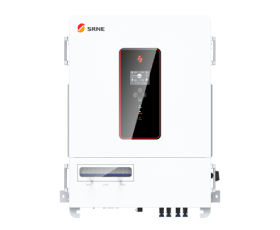
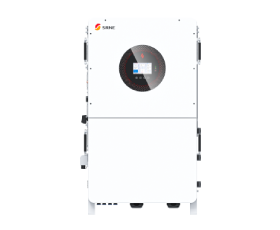
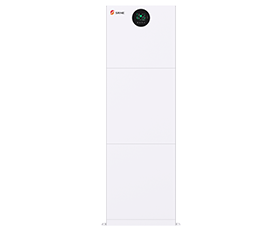
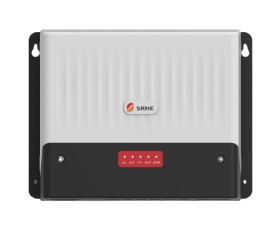
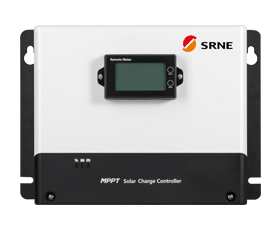
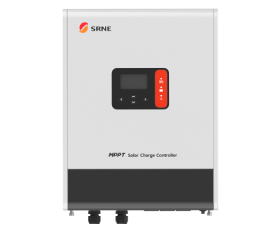
How to install your solar hybrid inverter
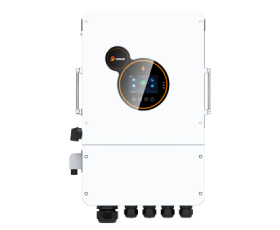
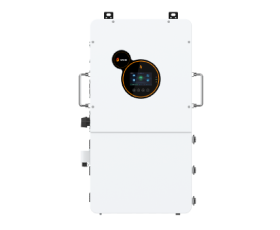
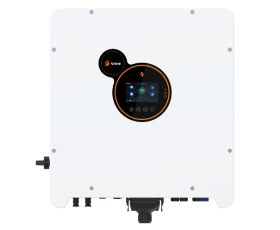
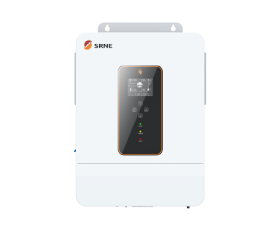
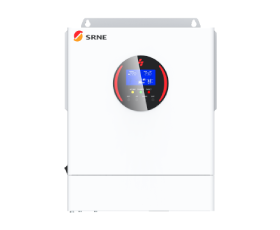
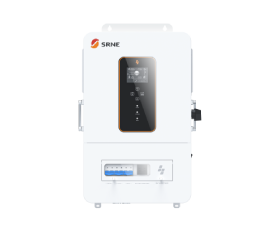
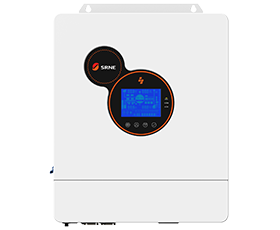
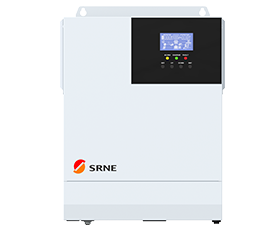
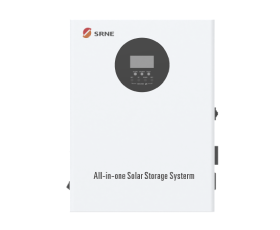
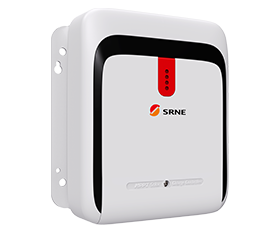
A solar hybrid inverter is a crucial component of your solar power system, providing a seamless connection between solar panels, batteries, and the power grid. Installing a solar hybrid inverter correctly is essential for maximizing its efficiency and ensuring safe operation. In this guide, we’ll walk you through the process of installing your solar hybrid inverter, covering everything from choosing the right location to performing a power-on test.
Before starting the installation, perhaps you want to know:
1. Installation
1.1 Choose the Appropriate Installation Location
The first step in installing your solar hybrid inverter is selecting the right location. This will ensure optimal performance and longevity for the unit. Follow these tips for a safe and effective installation:
· Avoid direct sunlight and rain: Solar hybrid inverters should not be exposed to direct sunlight or rain, as this could lead to overheating or damage. Choose a shaded or sheltered area.
· Keep away from flammable materials: For safety, do not install the inverter near flammable or explosive substances. This minimizes the risk of fire hazards.
· Out of reach of children: Place the inverter at a height or location that is out of reach of children to prevent any accidents.
· Check the wall’s load-bearing capacity: Ensure the wall is sturdy enough to support the weight of the inverter and other mounting equipment.
1.2 Mark Installation Holes on the Wall
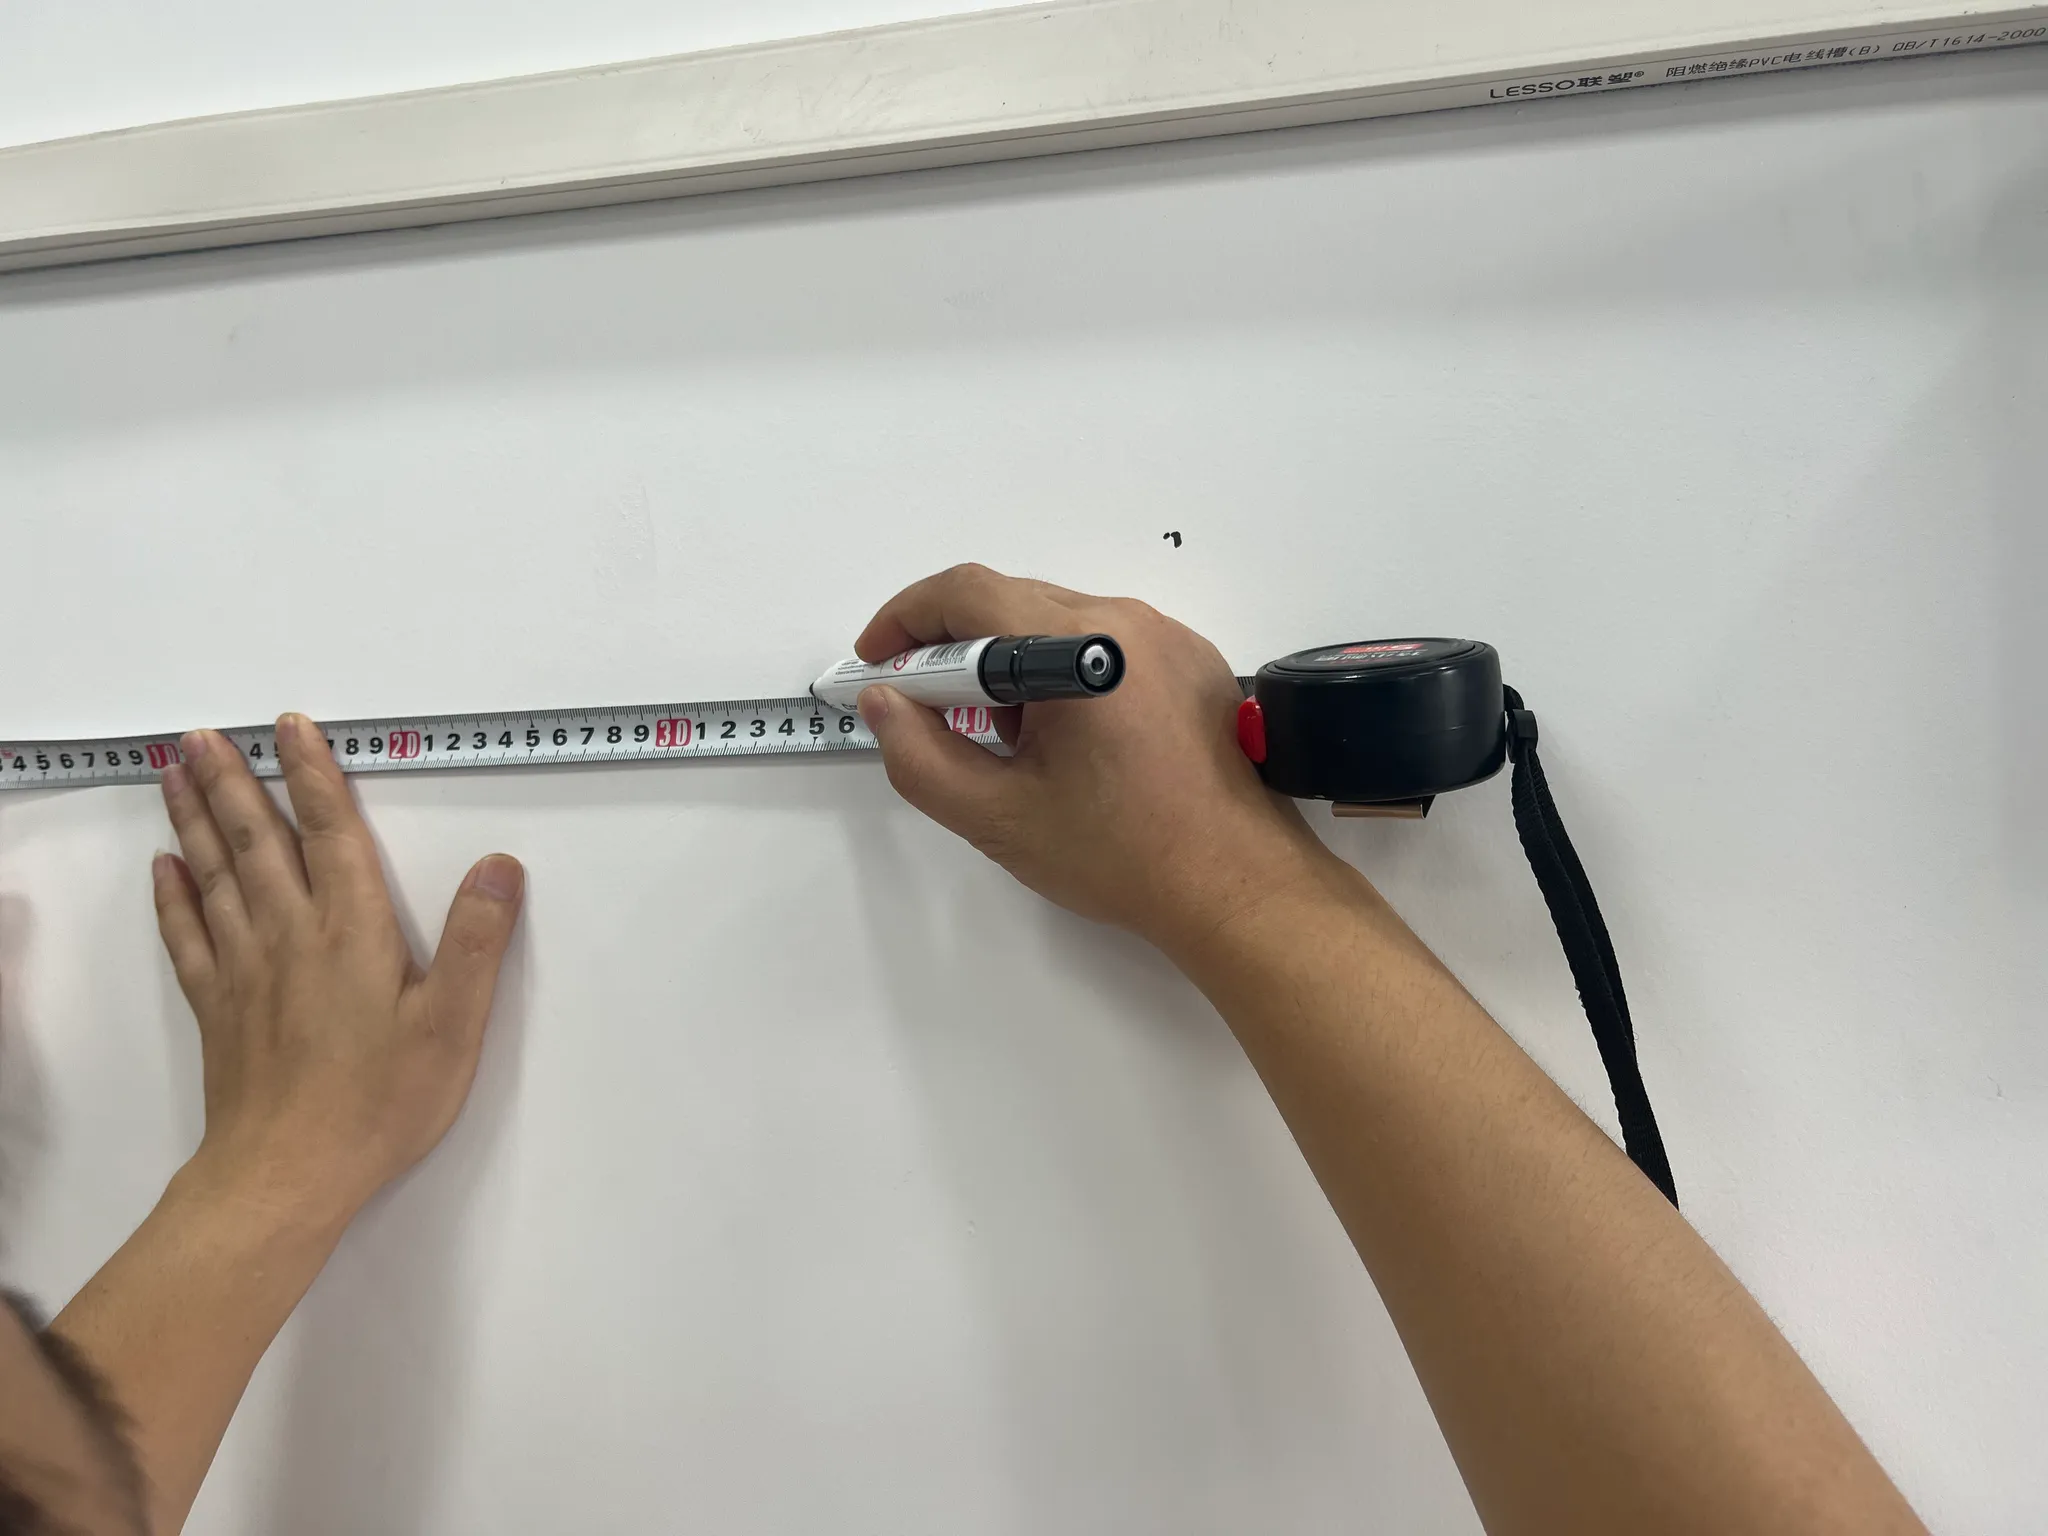
Once you've selected the right location, it’s time to mark the spots for the mounting holes. Follow these steps:
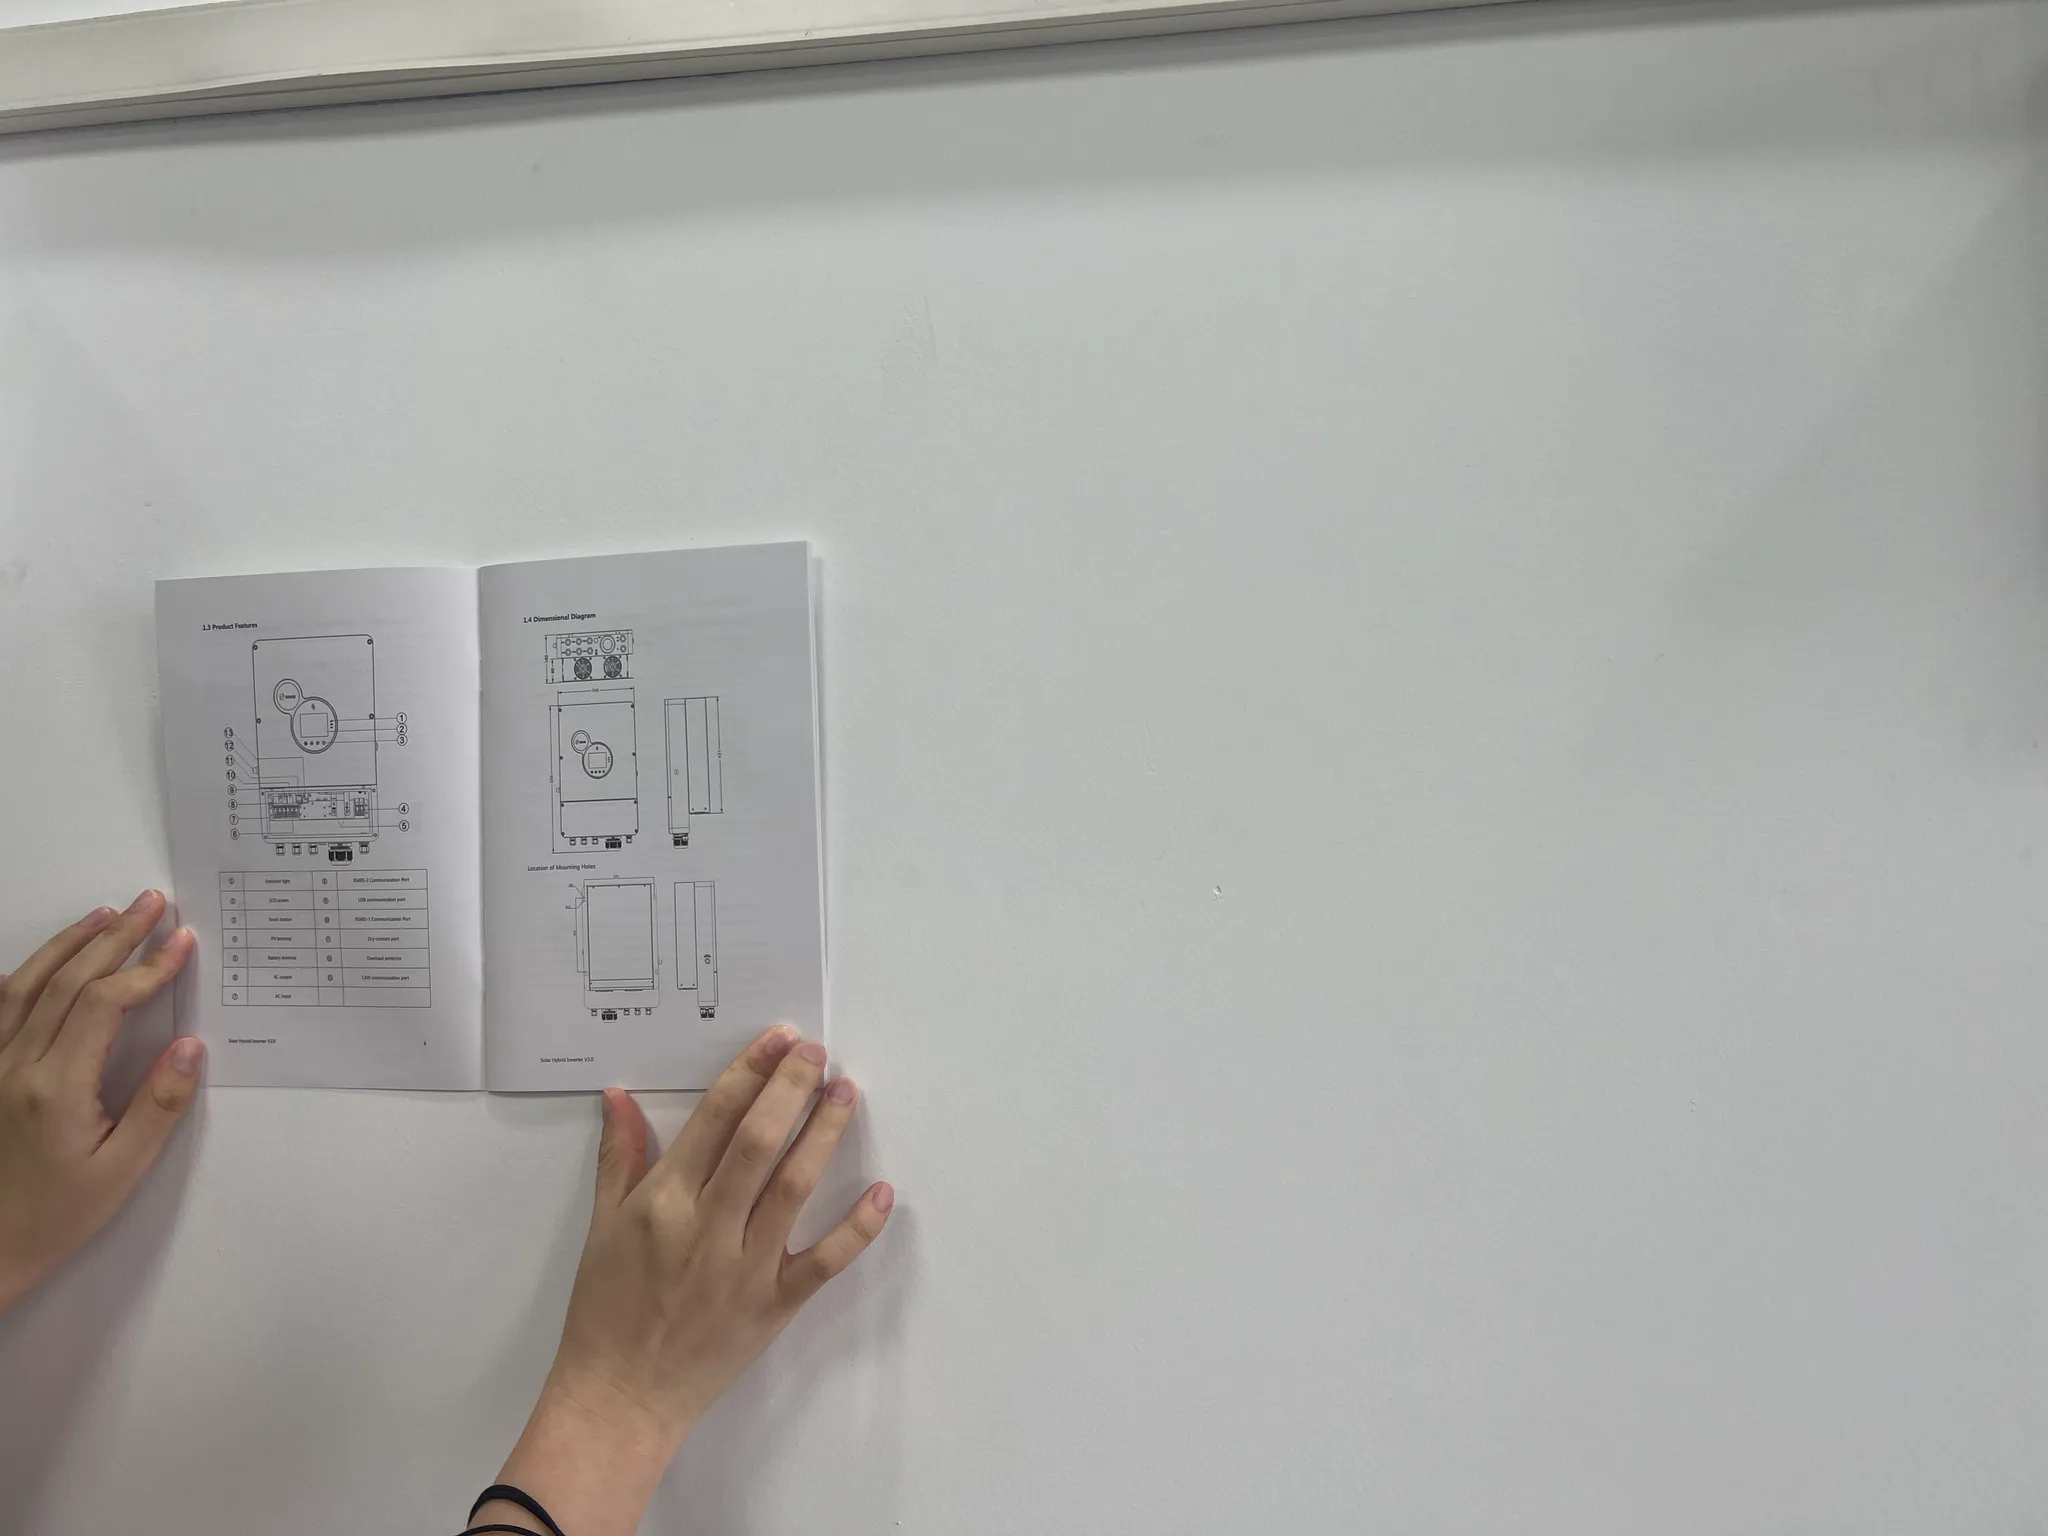
· Use a measuring tape and pen: Measure the distance between the mounting holes on the inverter and mark the corresponding spots on the wall.
· Refer to the product manual: You can find specific size data and installation instructions in the product manual.
1.3 Drill Holes Using an Impact Drill
Now that the positions are marked, use an impact drill to create the holes for the expansion screws. Here’s how:
· Choose the correct drill size: Typically, the drill bit should be two sizes smaller than the expansion screw. For example, if you’re using an M8 expansion screw, select an M6 drill bit.
· Depth matters: Ensure the hole depth is about 1-2 mm deeper than the length of the expansion screw. This will allow for a secure fit.
1.4 Install Expansion Screws into the Wall
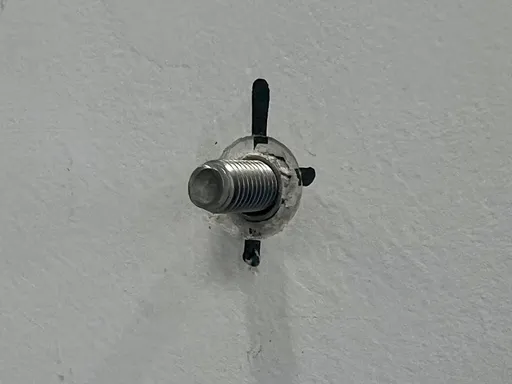
Once the holes are drilled, it’s time to insert the expansion screws into the wall:
· Tap the screws with a hammer: Gently tap the screws into place using a hammer. Ensure they are flush with the wall to provide a solid base for mounting the inverter.
1.5 Mount the Solar Hybrid Inverter
After the expansion screws are in place, it’s time to mount your inverter:
· Hang the inverter on the screws: Lift the inverter and hang it on the expansion screws, ensuring the installation holes align perfectly with the screws.
1.6 Tighten the Nuts
To secure the inverter firmly in place, tighten the nuts around the expansion screws:
· Use a wrench to tighten the nuts: This ensures that the inverter is securely mounted on the wall and won’t shift over time.
2. Connection
2.1 Remove the Terminal Cover at the Bottom
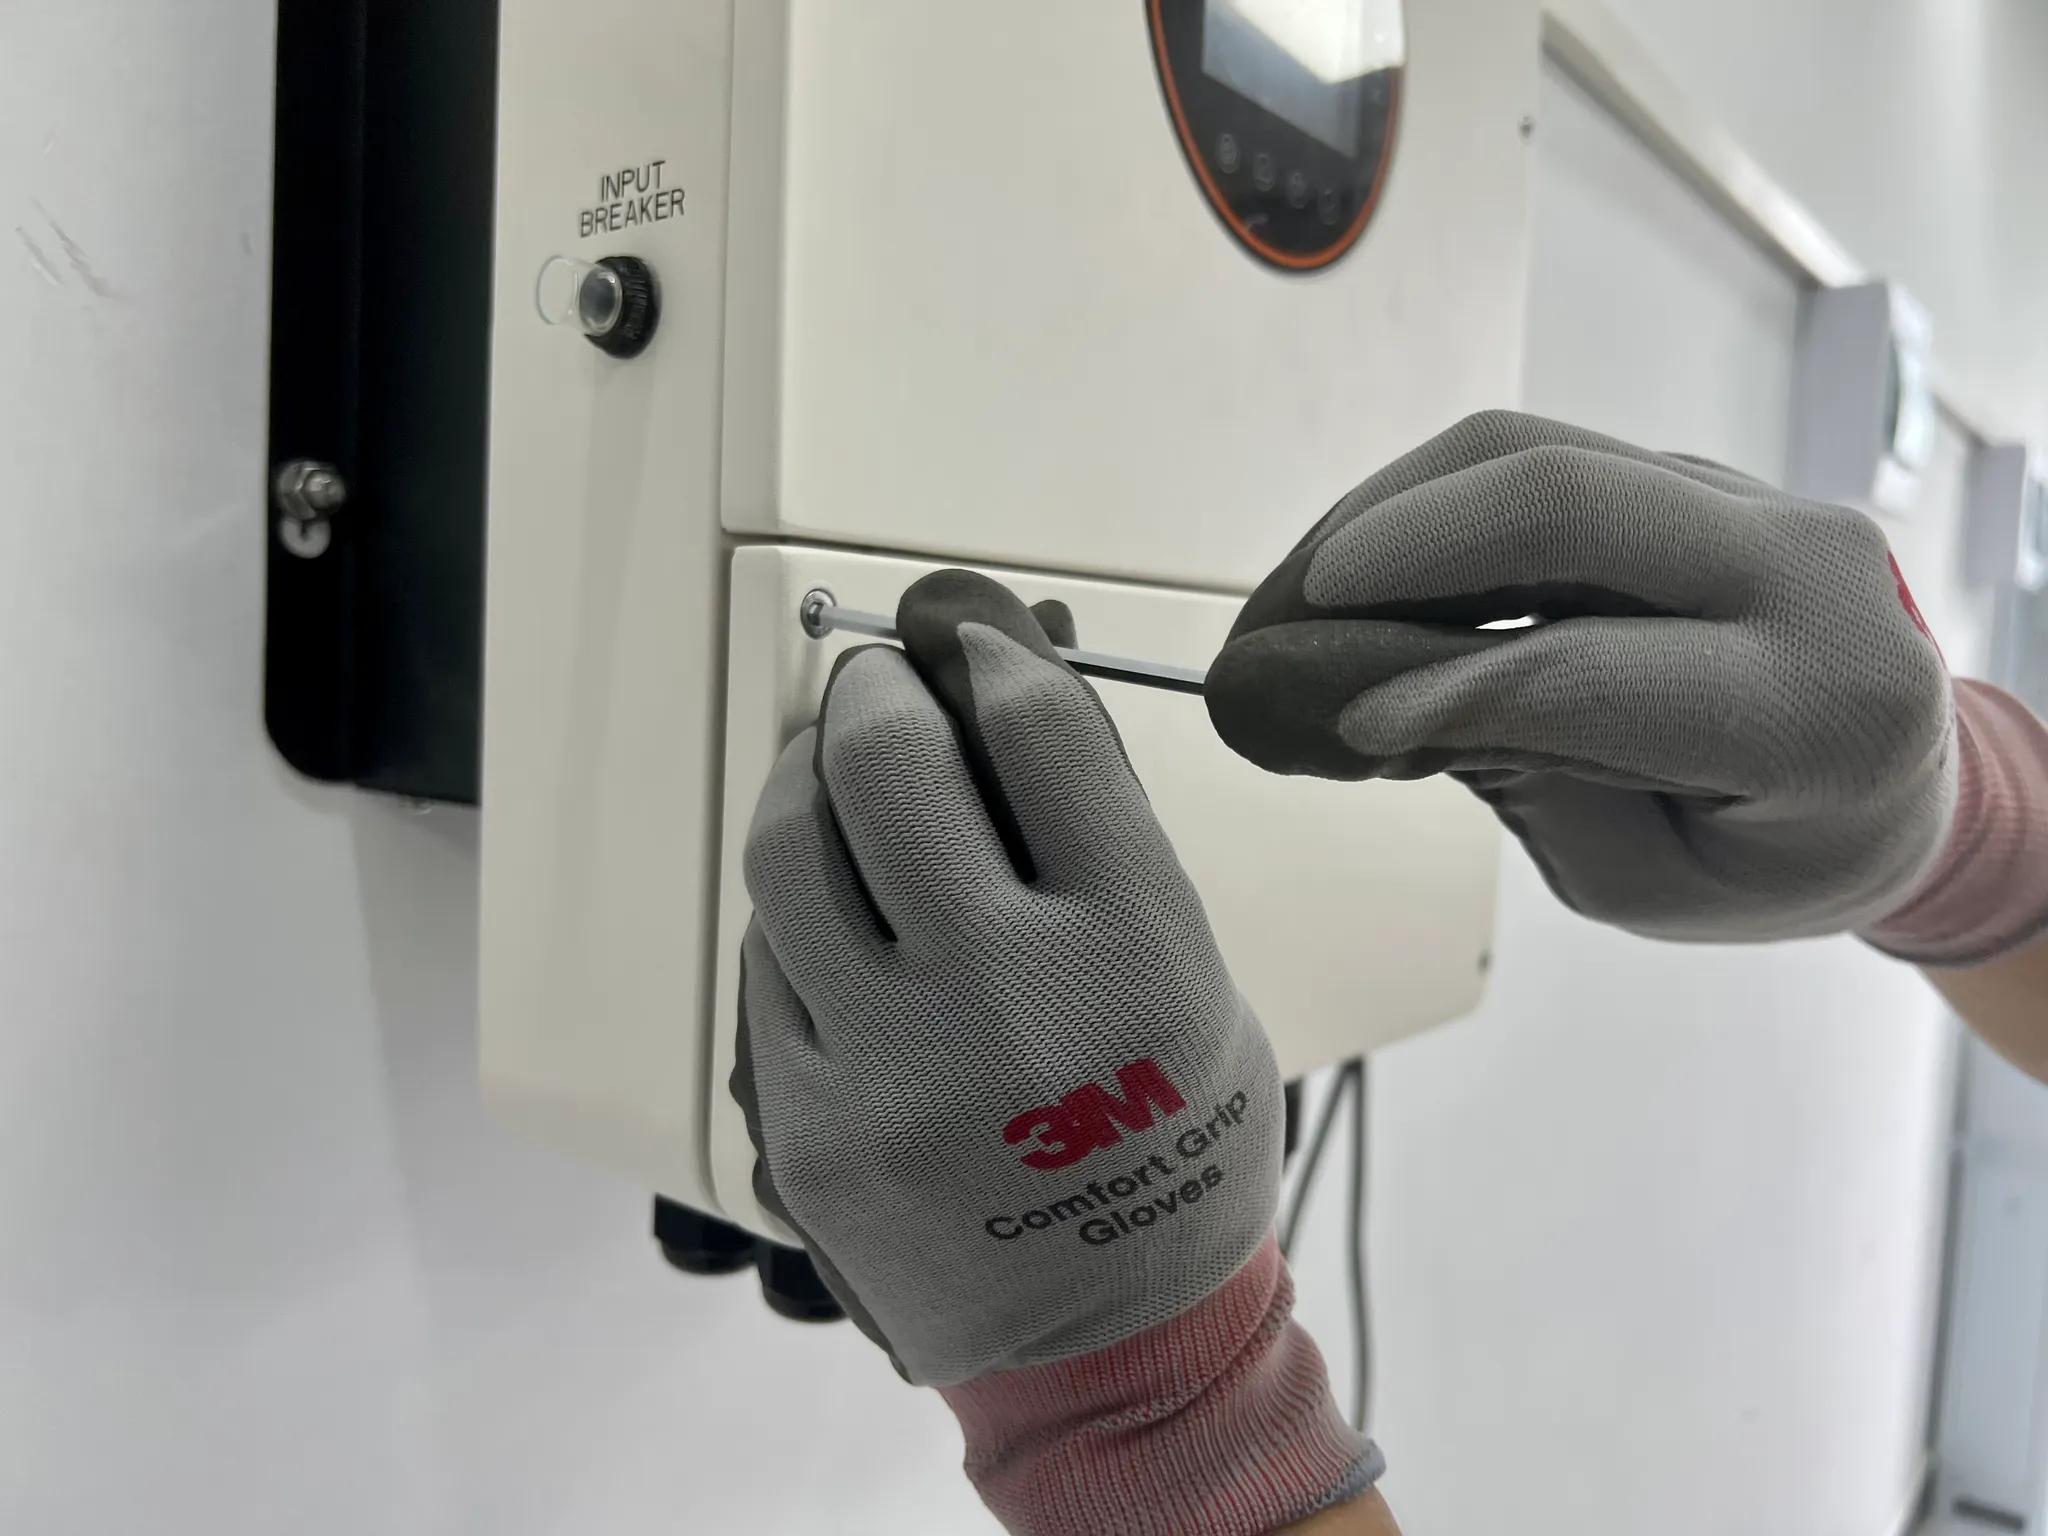
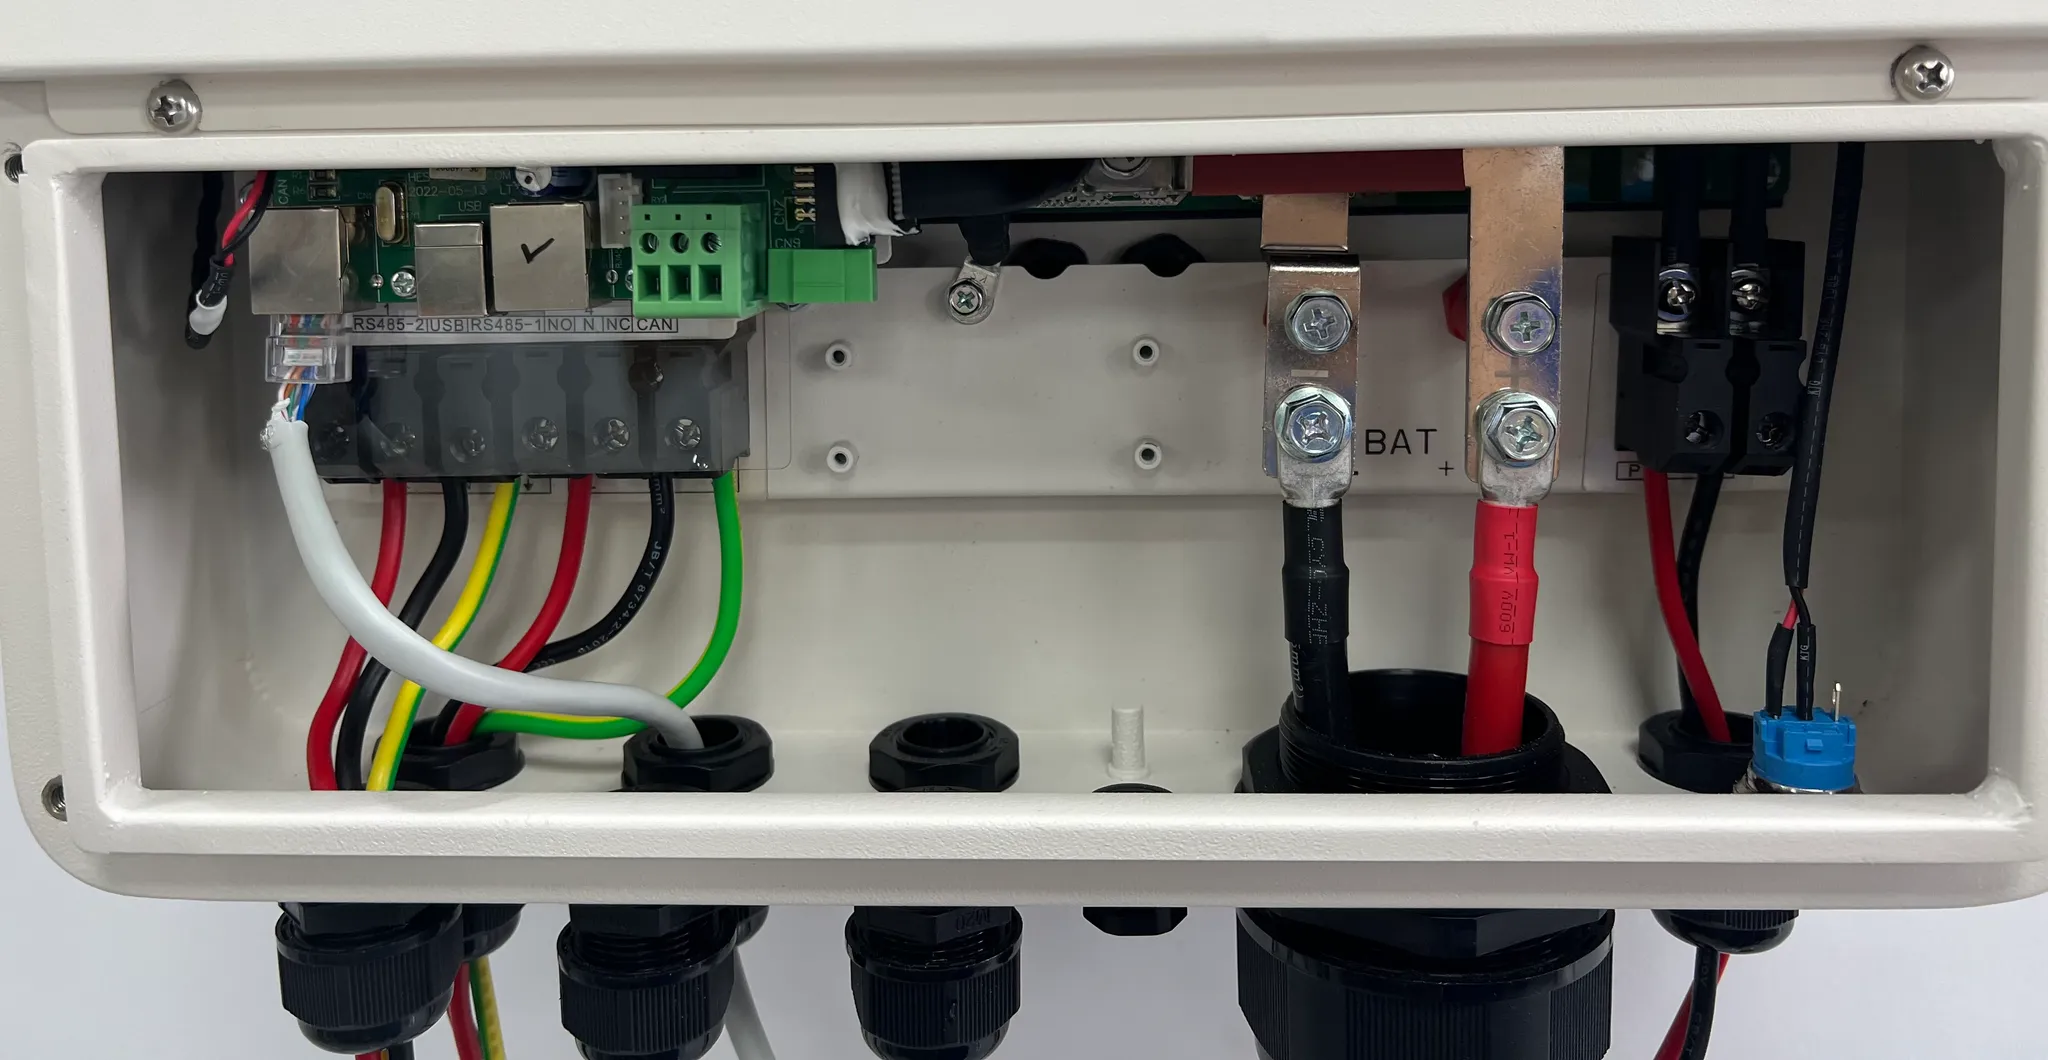
Before making the necessary electrical connections, remove the terminal cover at the bottom of the inverter. This will expose the connection points for the AC input, AC output, battery, and solar input.
· Use the included hex wrench: The inverter package typically comes with a hex wrench that you can use to unscrew the cover.
2.2 Connecting the Cables
Next, it’s time to connect the cables to the appropriate terminals. This step is crucial for ensuring the system works properly.
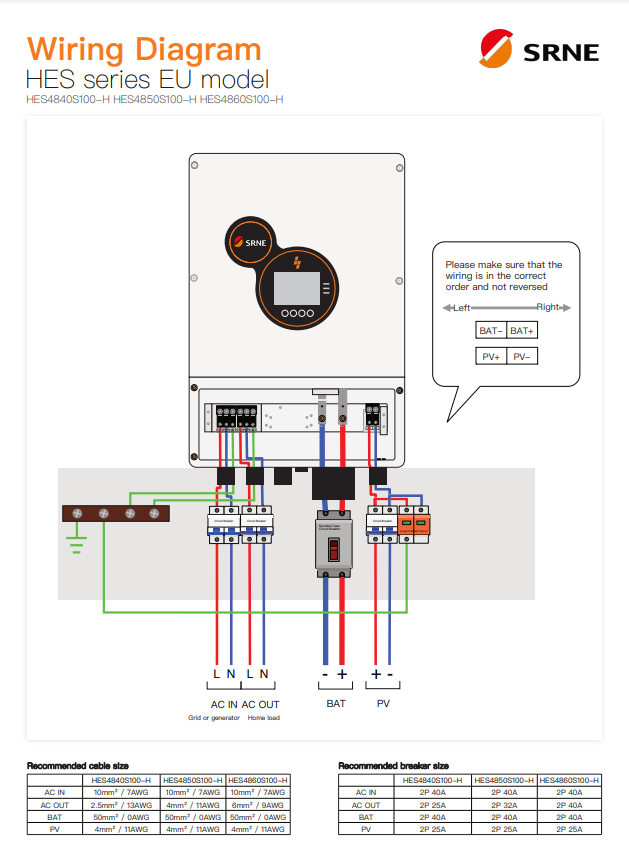
· Refer to the wiring diagram: Always use the provided wiring diagram to ensure the cables are connected in the correct order. This includes connecting the AC input, AC output, battery, and solar cables to the corresponding terminals.
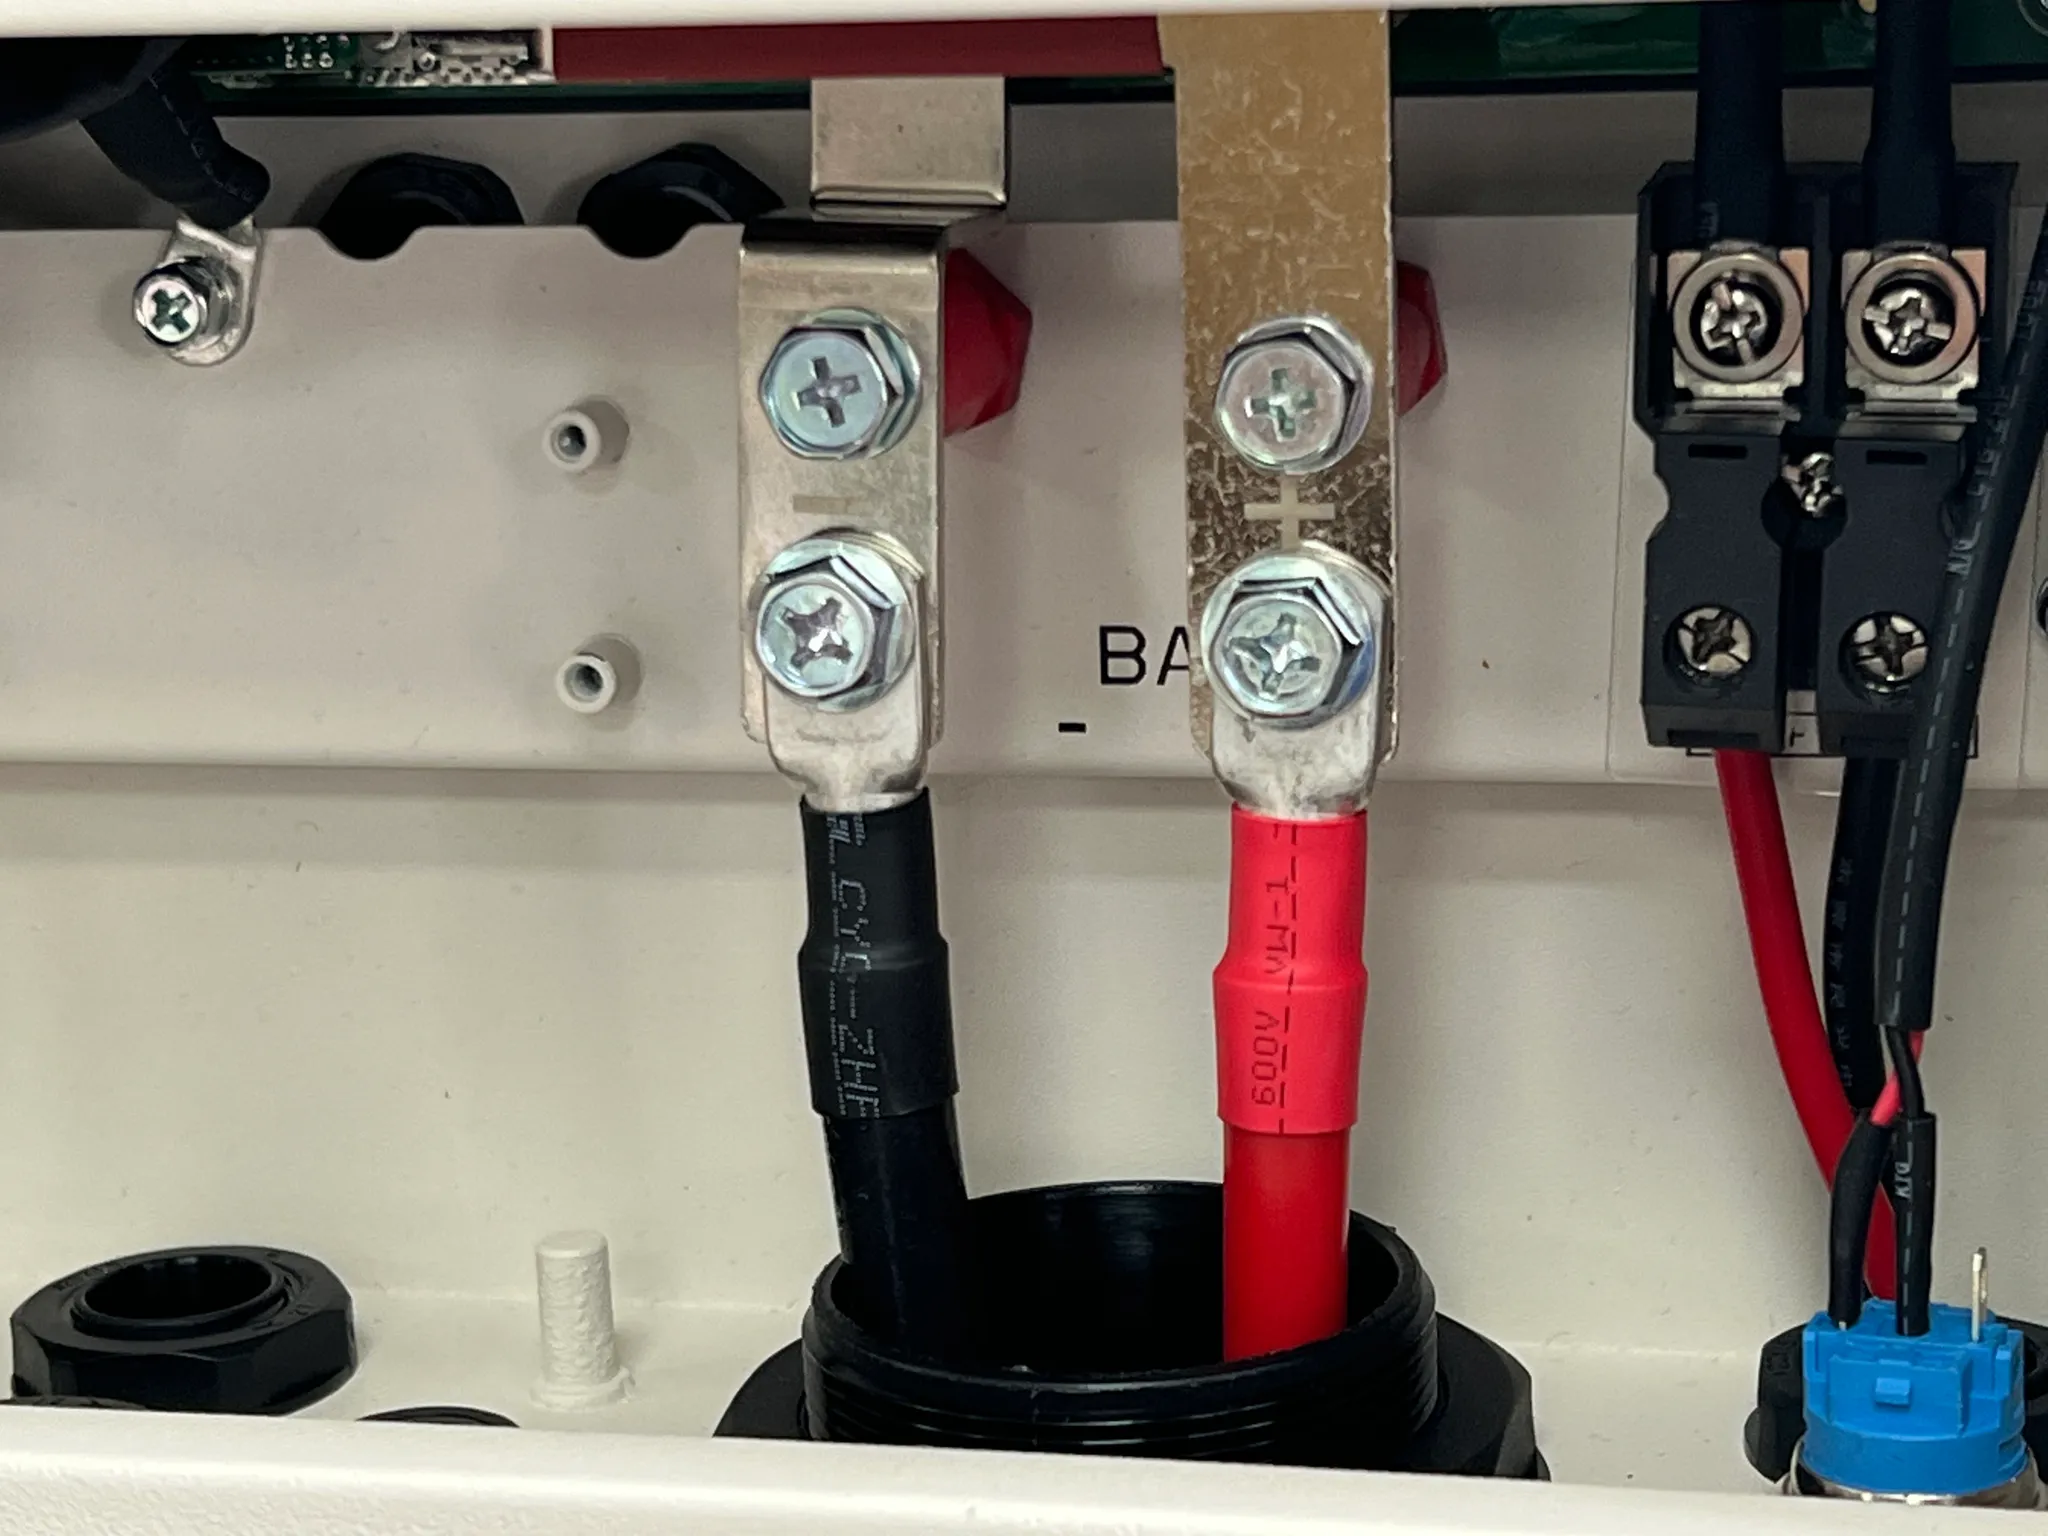
· Be careful with polarity: When connecting the battery cables, ensure that the negative terminal is on the left and the positive terminal is on the right.
· Thread cables through waterproof terminals: To ensure the connections are secure and waterproof, thread the cables through the waterproof terminals and strip about 6-8 mm of insulation to expose the metal part.
· Proper connection procedure: Turn the terminal counterclockwise three times before inserting the wire, then tighten it clockwise to ensure a secure and stable connection.
3. Power-On Test
Before powering on the inverter, double-check the connections to make sure everything is correct. Once confirmed, you can proceed with the power-on test.
3.1 Turn on the Inverter
Find the switch at the bottom of the inverter and press it to turn the unit on. The screen will light up, indicating the inverter is powered.
3.2 Close Battery-Side Circuit Breaker
To power the inverter using the battery, close the battery-side circuit breaker. This will power up the inverter, and the screen will light up. You can now proceed to complete any necessary parameter settings.
3.3 Close the Solar Circuit Breaker
Once the battery circuit is active, you can close the solar circuit breaker. If there’s solar input, the PV icon will light up on the inverter screen.
3.4 Close the AC Input and Output Circuit Breakers
Next, close the AC input and AC output circuit breakers. The Grid and Load icons will light up on the inverter screen, indicating the AC input and output are functioning.
3.5 Test the Load
Finally, you can attempt to start the load and check the device’s capacity. If the load works normally, congratulations! Your solar hybrid inverter is successfully installed.
Conclusion
Installing a solar hybrid inverter can seem like a daunting task, but following this step-by-step guide will ensure that the process goes smoothly. By carefully choosing the installation location, connecting the wires correctly, and testing the system, you can be confident that your solar hybrid inverter will function at its best. For any issues during installation or troubleshooting, always refer to the provided manual and resources for further assistance.
About SRNE
SRNE is a leader in providing high-quality solar hybrid inverters and renewable energy solutions. With a focus on efficiency and reliability, our products are designed to help you maximize energy production while reducing costs. We are committed to supporting a sustainable future with cutting-edge solar technologies.
For more information, visit our website at SRNE Official Website.


