


Solar Charge Controller Basics: How to Set Up Off-Grid Power for Your Cabin or Farm
Whether you're using a simple PWM solar controller or a more advanced MPPT solar charge controller, understanding how this component works is key to building a safe and reliable off-grid setup. In this guide, we’ll walk you through the basics, setup steps, and real-world applications of a solar battery charge controller for small-scale off-grid systems.
1.What Is a Solar Charge Controller?
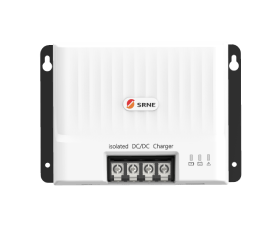
A solar charge controller, also known as a solar controller, manages the energy flow between solar panels and batteries, ensuring safe and efficient charging. Its main job is to regulate the power coming from your solar panels before it reaches the battery. Without it, your battery could overcharge, overheat, or get damaged over time.
Think of it as a smart traffic cop for electricity — making sure your batteries receive just the right amount of power. It also helps prevent the battery from draining too much when powering lights or appliances at night.
In short, it keeps your solar power system running safely, efficiently, and extends the life of your batteries — which makes it a must-have for any cabin, RV, or farm using solar energy.
Learn more:
https://www.srnesolar.com/articledetail/how-does-a-solar-charge-controller-work.html

2.Types of Solar Charge Controllers
There are two main types of solar charge controllers: PWM and MPPT. Both regulate the flow of electricity from the solar panels to the battery, but they work in different ways and are suited for different needs.
2.1 PWM (Pulse Width Modulation)
PWM controllers regulate battery charging by adjusting the power flow as the battery fills up. Instead of sending constant energy, they reduce the charge rate when the battery gets close to full. This method is straightforward, cost-effective, and works well for basic solar setups.
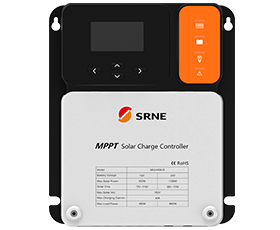
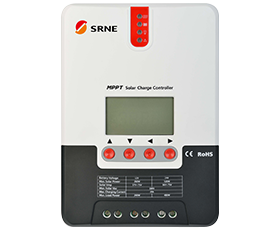
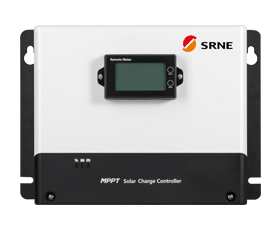
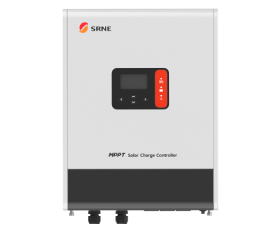
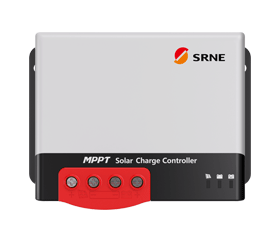
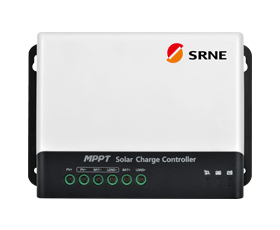
2.2 MPPT (Maximum Power Point Tracking)
MPPT solar charge controllers are more advanced and efficient. They constantly adjust voltage to maximize power output from your solar panels, making them ideal for systems where efficiency matters — such as remote farms, cabins, or areas with variable sunlight.
2.3 Quick Comparison:
Feature | PWM Controller | MPPT Controller |
Working Principle | Direct connection, slows charge as battery fills | Tracks panel voltage for max power |
Efficiency | Moderate | High (up to 30% more efficient) |
Price | Lower | Higher |
Best Use Case | Small, simple systems | Larger, variable or high-power systems |
Weather Performance | Best in stable, sunny climates | Excellent in cloudy or cold conditions |
Learn more:

3.How to Set Up a Solar Charge Controller (Step-by-Step Guide)
A properly installed solar charge controller is essential to protect your battery and ensure efficient operation of your off-grid solar system. Follow these simplified steps to get started correctly.
3.1 Step 1: Select the Right Controller
Start by confirming that the controller supports your battery system’s voltage—usually 12V, 24V, or 48V. Some models auto-detect voltage, while others need manual setup. Make sure the controller’s current rating (in amps) matches or slightly exceeds your solar panel output. A 25–30% safety margin is recommended to handle power fluctuations and future system growth.
Choose between PWM and MPPT based on your setup. PWM controllers are affordable and work well in small, stable systems with minimal cable length. MPPT controllers offer higher efficiency, especially when panel voltage is higher than battery voltage or in colder, variable weather. For larger systems like off-grid homes or farms, MPPT is usually the better option. Oversizing the controller slightly can give you more flexibility later.
3.2 Step 2: Connect the Battery First
Always connect the battery to the controller before anything else. This helps the controller set the correct system voltage. If you wire the solar panels first, the controller might misread the system and behave unpredictably.
Connect the battery’s positive and negative terminals to the corresponding inputs on the controller using properly rated cables. Tight, secure connections are crucial—loose wiring can cause heat or damage. Once connected, most controllers will turn on automatically and show voltage or battery status.
3.3 Step 3: Connect the Solar Panels
After the battery is connected, you can wire in your solar panels. Confirm polarity: positive to positive, negative to negative. If you’re using multiple panels in series or parallel, make sure the total voltage and current are within the controller’s rated input range.
Use MC4 connectors or proper terminals to ensure secure, weather-resistant connections. Most importantly, never connect the panels before the battery—doing so can damage the controller or cause it to detect the wrong voltage.

3.4 Step 4: Connect the Load (Optional)
If you have DC appliances like LED lights, fans, or pumps, connect them to the controller’s load terminals. This allows the controller to cut power automatically if the battery gets too low, helping preserve battery life.
Some controllers support light sensors or timers, useful for systems like solar street lights. If you're using an inverter for AC appliances, connect it directly to the battery, not the controller’s load port, as the inverter may draw more power than the load output can handle.
4.Real-World Use Case: Off-Grid Setup for a Cabin or Small Farm
Whether you're powering a secluded cabin deep in the woods or supporting daily operations on a small farm, an off-grid solar system provides a dependable and sustainable energy solution. These systems are specifically designed to operate independently of the utility grid, making them ideal for rural or remote locations where grid access is limited, unstable, or entirely unavailable.
Learn more:
https://www.srnesolar.com/blog/free-guides/solar-charge-coontroller-common-problems-and-solutions
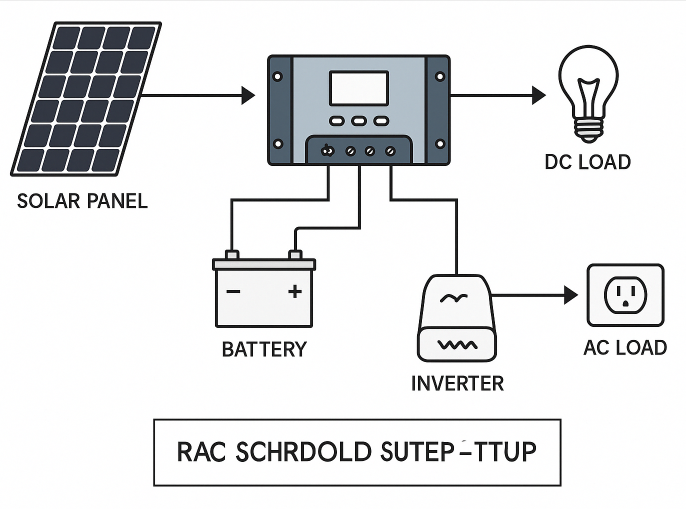
System Structure Overview
A standard off-grid setup follows a simple yet highly adaptable configuration:

Solar Panel → Charge Controller → Battery → DC Load / Inverter (for AC Load)
Here’s how it works step by step:
First, solar panels capture sunlight and convert it into direct current (DC) electricity. Next, this energy flows through a charge controller, which carefully regulates the voltage and current delivered to the battery, protecting it from overcharging or deep discharge. Once the energy is stored in the battery, it becomes available for use at any time—whether during cloudy days or at night.
DC-powered devices such as LED lights, small fans, or security cameras can be connected directly to the system for immediate use. However, if your setup includes AC appliances like refrigerators, water pumps, or power tools, you will need an inverter to convert the stored DC electricity into alternating current (AC) suitable for standard household equipment.
Because of its modular structure, this type of system is both robust and easy to expand. This setup, when combined with a reliable solar battery charge controller, can deliver consistent performance across a range of weather and usage conditions. You can begin with a compact configuration to meet basic needs, and later increase capacity by adding more solar panels, batteries, or higher-rated components as your energy requirements grow. Therefore, it’s an excellent long-term solution that scales with your lifestyle or business, whether you're lighting up a weekend cabin or running essential equipment on a working farm.
Learn more:
Conclusion:
In summary, whether you're looking to light up a remote cabin, power tools on a farm, or simply build an off-grid backup system, a well-installed solar charge controller is critical to system reliability and battery longevity.